 24
Mar,2025
24
Mar,2025
Ever thought about sprucing up your backyard with decking tiles laid directly on grass? While it might seem like a straightforward weekend project, there's more to it than just laying them down. For starters, you'll want to make sure your grass is healthy and even. Uneven ground or patchy grass can lead to tiles wobbling or shifting, which nobody wants.
Before you rush out to buy those tiles, it’s crucial to do some prep work. A key step is leveling the ground. This might involve removing some grass or adding soil to ensure a flat surface. Plan for proper drainage, as standing water can cause tiles to become slippery or even rot over time.
Why Consider Decking Tiles on Grass
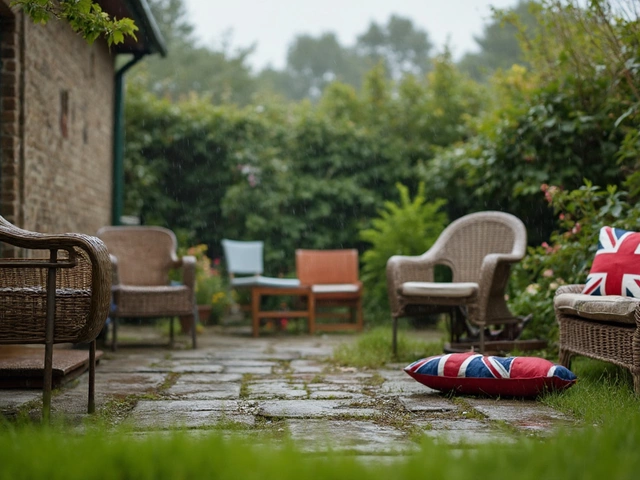
Deciding to put decking tiles on grass can be a game-changer for your backyard, especially if you're looking to jazz up your outdoor space without breaking the bank. First off, it's all about versatility. Decking tiles come in various styles and materials like wood, composite, or even stone, offering you tons of choices to fit your style.
Imagine hosting a barbecue where people aren't struggling to balance on uneven ground. That's a reality with a tiled area on your grass. These tiles can create a stable platform for outdoor furniture, keeping you and your guests steady and comfy.
Quick and Easy Installation
If you're not into major landscaping overhauls or don't want to deal with a mountain of tools and materials, decking tiles are perfect. They typically come with interlocking systems that make installation a breeze. You won’t need a degree in engineering to fit them together.
Sustainability Bonus
Another upside? Some decking tiles are made from recycled materials, making them an eco-friendly choice. You're not just decking out your garden; you’re also being kind to the planet.
Flexibility and Portability
One often overlooked benefit is their portability. If you decide to move parts of your garden or change its look, these tiles can easily be picked up and relocated. This gives you flexibility to rethink the layout of your space anytime.
In short, decking tiles are a practical solution for elevating your grassy areas. They bring style and usability together without a ton of hassle, making them an excellent option for anyone looking to improve their outdoor living space.
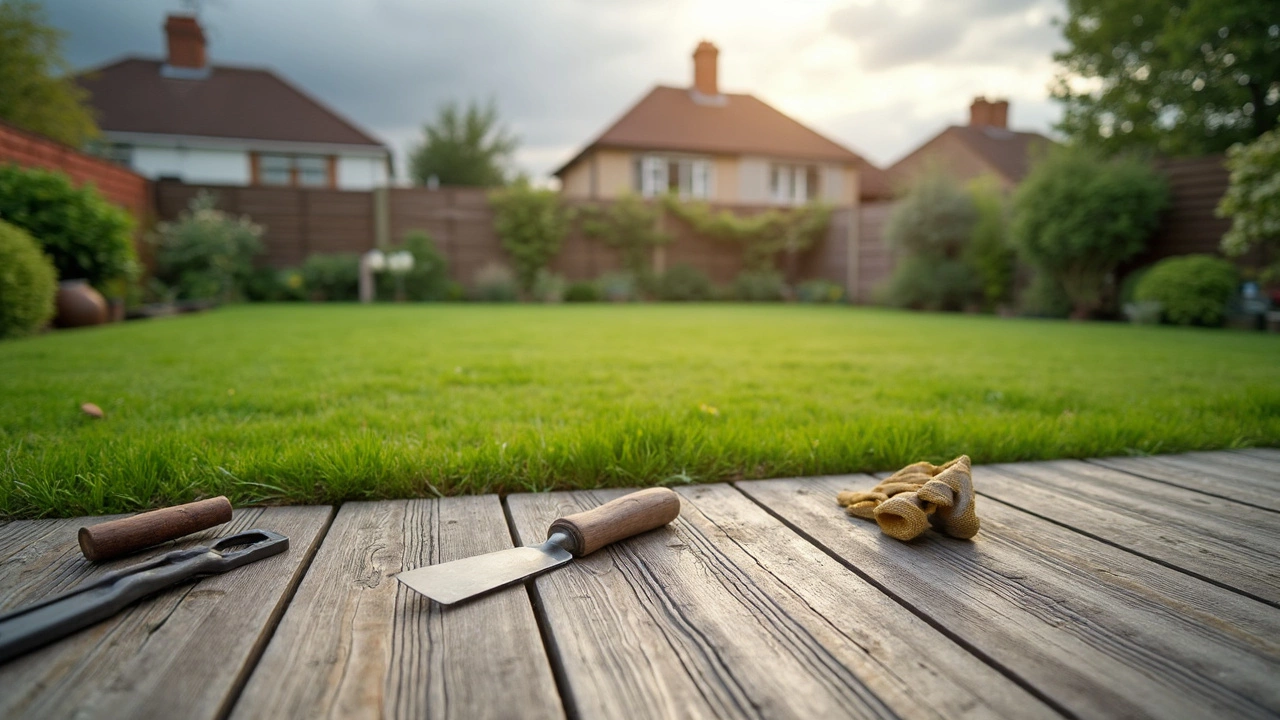
Preparation Steps
So, you're set on laying those decking tiles right over your lawn. It's an exciting idea, but first, let's get down to prepping the ground. Skipping this part can lead to uneven tiles or accelerated wear, so let's make sure we're doing this right.
Check the Ground
Start by walking over the area where you plan to install the tiles. You're looking for bumpy spots, soft patches, or any signs of trouble. If the turf feels uneven to you, it will definitely feel uneven to your new outdoor floor.
Level the Surface
Once you’ve identified problem areas, it's time to level. Grab a shovel and remove any excess soil or grass. If you find dips, fill them with soil and pack it down firmly. A flat surface is your best friend here.
Consider Drainage
Grass doesn’t handle water pooling well, and neither will your garden tiles. Take a look at the natural slope of your lawn. Ensure water can flow away from the tile area to avoid any puddle problems later.
Lay a Barrier
Though these tiles can go directly on grass, it's wise to lay down a weed barrier. It prevents pesky weeds from sneaking through the gaps. This step can save you a lot of hassle down the road.
- Smooth out the entire area, ensuring there's a slight decline to one side for drainage.
- Install a geotextile membrane if weeds are a concern.
- Double-check the surface, ensuring it's compact by walking on it after adjustments.
Following these preparation steps ensures that your outdoor flooring project lasts longer and looks cleaner. Skimping on prep work might seem tempting, but trust me, you’ll thank yourself for taking the time.

Best Types of Decking Tiles
When picking out decking tiles for your grassy area, you want ones that are not only stylish but also practical. It's all about matching the right type of tile with the conditions of your yard, so let's break down some popular options.
1. Interlocking Wood Tiles
These are a classic choice because they're easy to install and lend a warm, natural look to any space. Typically made from durable woods like teak, acacia, or cedar, these tiles are designed to withstand the elements. The interlocking system means you don't have to fuss with screws or tools—just snap them together.
2. Composite Decking Tiles
If you're looking for low maintenance, composite decking tiles are your friend. Made from a mix of wood and plastic, they resist rot, splinters, and insects. Plus, they come in various colors and textures, so you can get that wood look without the upkeep.
3. Stone and Porcelain Tiles
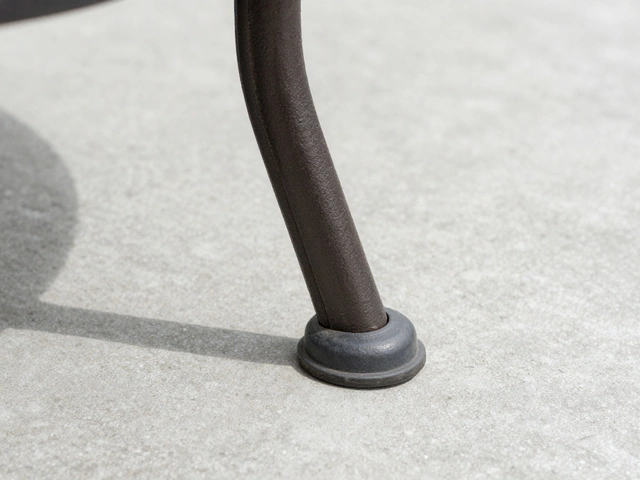
For those who love a modern vibe, stone or porcelain tiles provide a sleek finish. They're heavy, so they sit well on grass and offer excellent durability. Just be aware that they can be slippery when wet, so consider this if your area is prone to rain.
4. Plastic Tiles
Don't dismiss plastic as an option. These tiles are budget-friendly and incredibly lightweight, making them easy to handle. Most have a textured surface for slip resistance, and they let water drain effectively, which is big when you're dealing with grass installation.
Quick Tip
- Remember: Whatever type you go for, give the ground beneath some attention. Adding a weed barrier can prevent pesky growth, and a sand or gravel bed under the tiles can improve stability.
- Measure your space accurately. Running out of tiles mid-project is a hassle you'd rather avoid.
So there you have it—a breakdown of some best decking tiles for grassy environments. Consider your needs, style, and of course, budget. Once you've got the right set up, you’ll transform that lawn into an inviting space perfect for lounging or hosting friends.
Maintenance Tips
Ensuring your decking tiles remain in good shape is easier with a little regular upkeep. The first thing you'll want to keep an eye on is how well the tiles are holding up against the elements. Both outdoor flooring and garden tiles can take a beating from sun, rain, and even grit carried by the wind.
Routine Cleaning
Start by giving them a regular sweep to prevent debris buildup. This helps avoid grime settling in between the tiles, which can be a pain to remove later on. A simple vacuum with a hose attachment or a stiff broom should do the trick.
For a deeper clean, a gentle wash with soapy water and a non-abrasive brush can bring your tiles back to their original shine. Just rinse them down properly afterward—you don't want a slippery surface from leftover soap.
Seasonal Check-Ups
Every few months, do a quick check to see if any tiles have moved or if you notice any wear and tear. Especially after a winter freeze or a particularly wet season, it's good to see if any repairs are needed to keep them stable and safe.
- Winter Tip: If you live in a place with a lot of snow, consider a tarp covering or temporary removal to prevent damage.
- Make sure any discolored or rotten areas are addressed quickly to stop further degradation.
Handling Moss and Mildew
Moss and mildew love shady, damp spots, and they can pop up on decking tiles if left unchecked. Start by scrubbing the area with a mixture of vinegar and water, which can help prevent future growth. If mildew continues to be a problem, consider using a diluted bleach solution for tougher spots.
Regular Sealing
If your tiles require sealing, set a reminder for at least once a year. Proper sealing acts as a protective layer against water and reduces fading from UV rays, which is a big bonus for longevity.