 7
Oct,2025
7
Oct,2025
TV Mounting Option Selector
Recommended Mounting Option
Wall Mount
Sleek and modern, saves floor space. Ideal for living rooms with fixed seating.
Floating Shelf
Combines support with storage. Great for minimalist spaces.
Ceiling Mount
Ideal for home theaters. Maximizes floor space and provides flexible viewing angles.
DIY Riser
Budget-friendly solution. Perfect for renters or those on a tight budget.
When you decide to skip a traditional TV stand, the biggest question is how to keep the screen safe, level, and looking good. Below are practical options that let you enjoy a clean room layout without sacrificing stability.
Key Takeaways
- Wall mounts give a sleek look and free up floor space.
- Floating shelves blend storage and support in one piece.
- DIY risers are budget‑friendly but need careful measurement.
- Ceiling mounts work for large rooms or home‑theater setups.
- Safety checks-weight rating, mounting studs, cable routing-are non‑negotiable.
Television is a flat‑panel display that typically rests on a console, a stand, or a wall bracket. Modern screens range from 32‑inch panels weighing under 10kg to 85‑inch models that tip the scales at 50kg or more. Knowing your TV’s dimensions and weight is the first step before picking an alternative support.
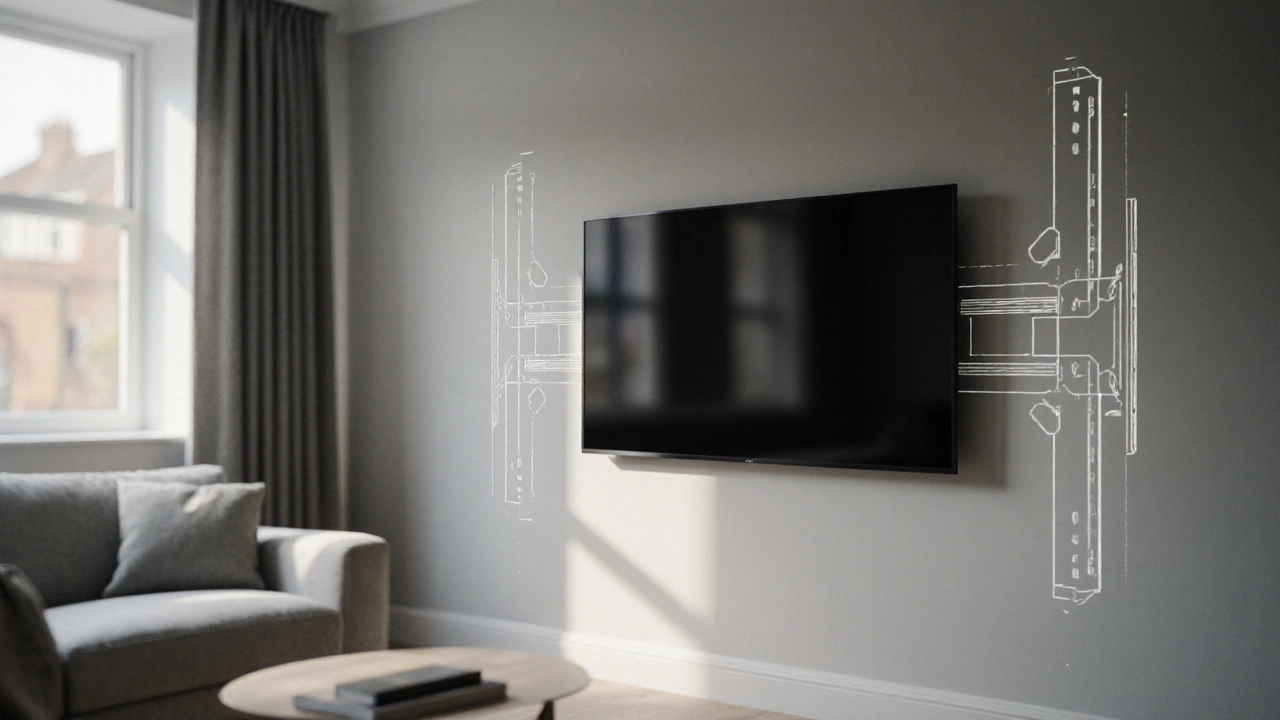
1. Wall Mounts - The Classic Clean‑Line Solution
A wall mount secures the TV directly to studs or masonry. The most common type is the fixed wall mount, which holds the screen flush against the wall. If you want tilt or swivel, look for an tilting bracket or a full‑motion TV swivel arm. These units usually list a maximum load-choose one rated at least 20% above your TV’s weight.
Installation steps:
- Locate wall studs using a stud finder; for brick walls, use a masonry anchor.
- Mark the drilling points according to the mount’s template.
- Drill pilot holes, insert anchors, and secure the mount with lag bolts.
- Attach the TV mounting plate to the back of the television, then lift and hook the TV onto the wall bracket.
- Run cables through a cable management system to keep cords hidden.
Wall mounting saves floor space and gives a gallery‑like feel. It works best in living rooms where the viewing distance is fixed and you don’t need to move the TV often.
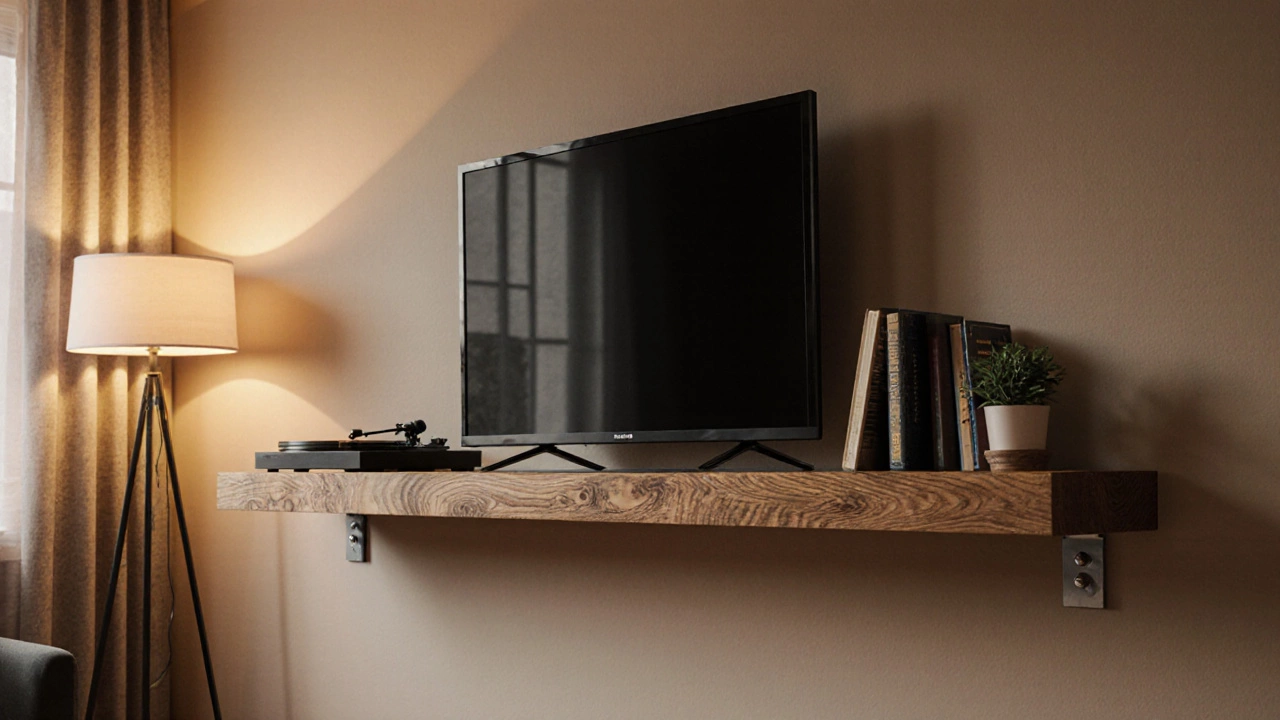
2. Floating Shelves - Support Meets Storage
A sturdy floating shelf doubles as a TV support and a place for decorative items or speakers. Look for a shelf made from solid wood or metal with brackets rated for at least 30kg. A common spec is a 6‑inch deep, 60‑inch wide board that can hold a 55‑inch TV comfortably.
Installation checklist:
- Measure the TV’s width and add a 2‑inch buffer on each side.
- Choose a shelf depth that accommodates the TV’s stand‑footprint (usually 4‑6inches).
- Secure the hidden brackets to wall studs; do not rely on drywall alone.
- Place the TV on the shelf and use non‑slip pads under the base for extra grip.
Floating shelves keep the room airy while still offering a surface for décor. They’re ideal for minimalist apartments where a wall mount feels too permanent.
3. Ceiling Mounts - When the Floor Must Stay Clear
Ceiling mounts are popular in home‑theater rooms or lofts where you want the TV to hover above a seating area. A ceiling TV mount typically includes a motorized pulley system for height adjustment. These mounts can support TVs up to 80kg, but they require careful anchoring into ceiling joists.
Steps to install:
- Find two ceiling joists at least 24inches apart.
- Drill pilot holes, attach the mounting plate with heavy‑duty lag bolts.
- Run power and HDMI cables along the ceiling or inside a conduit.
- Hook the TV’s wall‑plate to the ceiling mount and test the movement range.
Ceiling mounts free up every inch of wall and floor space. They’re best for large open‑plan rooms where the TV needs to be viewable from multiple angles.
4. DIY Furniture Risers - Budget‑Friendly Hacks
If you already have a low TV console but want extra height, build a furniture riser. Plywood sheets, 2‑inch thick, cut to the footprint of the console, and reinforced with corner brackets will lift the whole unit safely.
Materials needed:
- 2‑inch plywood (cut to size)
- Metal corner brackets (minimum 10kg rating)
- Wood screws and a drill
- Rubber pads for floor protection
Assembly:
- Measure the console’s length and width; cut plywood accordingly.
- Attach brackets to the underside of the plywood, then secure the console on top.
- Place rubber pads under each corner to prevent slipping.
This method costs under $30 and can be painted to match your décor. Just double‑check that the combined weight of the console and TV stays within the bracket’s rating.
5. Hybrid Solutions - Combining Support Types
Sometimes a single method isn’t enough. Pair a low‑profile wall mount with a short floating shelf to create a “half‑wall” look. The mount bears the TV’s weight, while the shelf holds speakers or game consoles. This hybrid keeps cables tidy and adds visual interest.
Choosing the Right Option - Decision Checklist
| Option | Cost (AUD) | Installation Difficulty | Floor Space Saved | Flexibility | Aesthetic |
|---|---|---|---|---|---|
| Fixed Wall Mount | $80‑$150 | Medium | 100% | Low (no tilt) | Modern, minimal |
| Tilting/Full‑Motion Bracket | $120‑$250 | Medium‑High | 100% | High (adjustable) | Customizable |
| Floating Shelf | $100‑$200 | Medium | 80% | Medium (fixed height) | Warm, decorative |
| Ceiling Mount | $250‑$500 | High | 100% | Very High (raise/lower) | Industrial‑theater |
| DIY Furniture Riser | $20‑$40 | Low | 30% | Low (static) | DIY‑personalized |
Match the option to your room size, budget, and how often you expect to re‑arrange furniture. For most renters, a floating shelf or a low‑cost riser offers a reversible solution.
Safety First - Common Pitfalls to Avoid
- Never exceed the mount’s weight rating; double‑check the TV’s specifications.
- Always anchor into studs or joists; drywall alone will not hold a heavy screen.
- Use a level when positioning any shelf or mount to avoid a crooked picture.
- Secure cables with zip ties or a cable management system to prevent accidental pulls.
- If you’re unsure about stud locations, hire a professional for the first installation.
Next Steps - How to Get Started Today
1. Measure your TV’s width, height, and weight.
2. Decide which aesthetic fits your room - sleek wall, warm shelf, or overhead.
3. Pick an option from the comparison table and buy the required hardware.
4. Follow the step‑by‑step guide for your chosen method.
5. Test the stability before you plug in the power.
With the right support, you’ll free up floor space, improve sightlines, and give your living area a fresh look- all without a traditional TV stand.
Frequently Asked Questions
Can I mount a TV on plaster walls?
Yes, but you need to locate the studs behind the plaster or use heavy‑duty toggle bolts designed for plaster. Anchors alone won’t hold a large screen.
What depth should a floating shelf be for a 55‑inch TV?
A depth of 6‑8inches is safe. It gives enough room for the TV’s stand‑footprint while keeping the weight center close to the wall.
Do I need a professional to install a ceiling mount?
If you’re comfortable locating ceiling joists and handling heavy tools, you can DIY. However, a mistake can damage the ceiling or create a safety hazard, so many people hire a tradesperson for peace of mind.
Is a low‑profile wall mount better than a full‑motion arm?
Low‑profile mounts keep the TV close to the wall, which looks cleaner and reduces glare. Full‑motion arms add tilt and swivel, useful in rooms with multiple seating positions.
How can I hide cables when I mount the TV?
Run cables through a cable management system or use in‑wall raceways. Paint the raceway to match the wall color for a seamless look.