 11
Oct,2026
11
Oct,2026
TV Stand Stability & Prep Checker
Ensure your new setup is safe and tidy before you start moving. Enter your TV and stand dimensions below.
Stability Calculator
Enter your measurements above to check if your TV will fit securely on the stand.
Pre-Move Preparation Checklist
You bought a new TV stand or maybe you’re just tired of drilling into your drywall. Either way, moving your television from the wall back to a piece of furniture feels like a big project. It’s not. Most people overcomplicate it by worrying about cable management holes or paint repairs before they’ve even taken the screen down. The reality is simpler: you need the right tools, a clear path for cables, and a stable surface. If you can lift a box of books, you can do this.
| Factor | Wall Mount Setup | TV Stand Setup |
|---|---|---|
| Stability Risk | Low (fixed to studs) | Medium (depends on stand weight) |
| Cable Visibility | Hidden behind wall/mount | Exposed unless managed |
| Installation Effort | High (drilling/studs) | Low (assembly/placement) |
| Repair Needs | Filler/Paint required | None |
Gather Your Tools Before You Touch the Screen
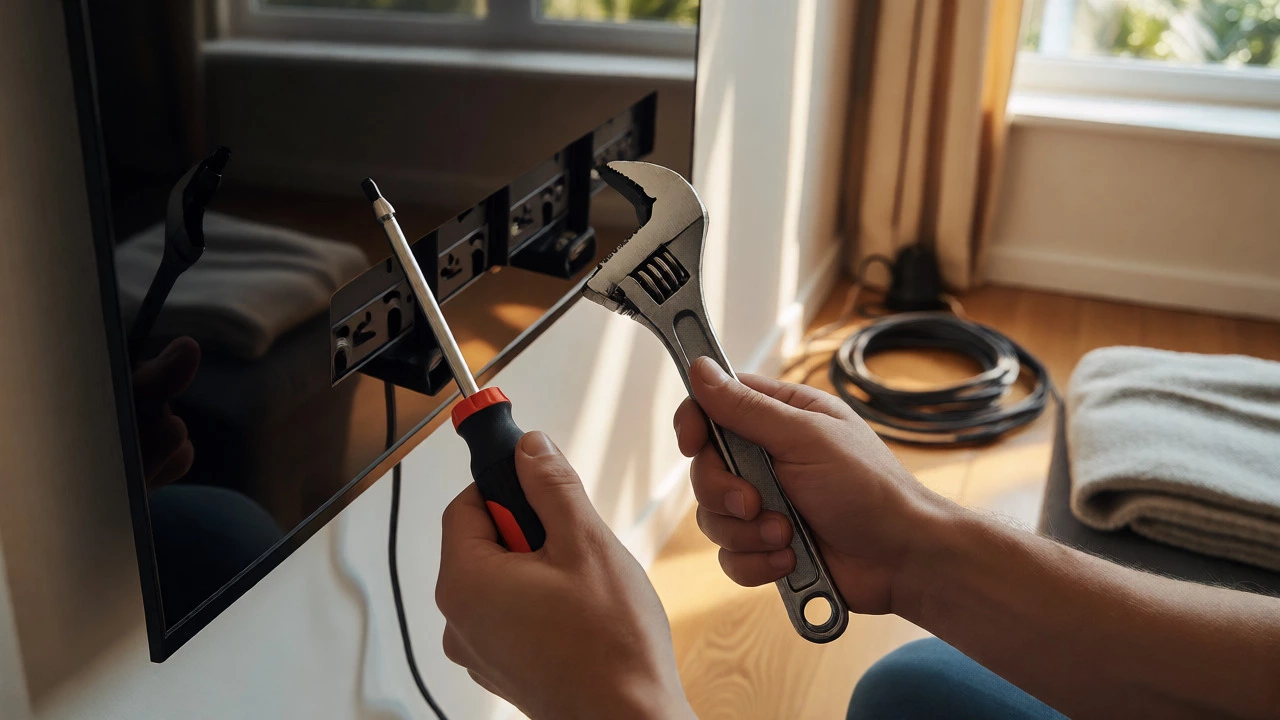
Don’t start unscrewing things until you have everything ready. Nothing ruins a DIY vibe faster than realizing you don’t have a Phillips head screwdriver while holding a 55-inch screen. You’ll need a basic toolkit: a Phillips head screwdriver (usually #2 size), an adjustable wrench if your mount uses bolts, and a helper. Yes, a helper. Even if you think you’re strong enough, twisting a heavy panel while trying to keep it level is how screens get cracked. Grab a soft blanket or a yoga mat to lay the TV on once it’s off the wall. This protects the bezel and the screen from scratches on your floor or table.
If your current setup uses a full-motion arm, you might also need a flashlight to see the release mechanisms. These arms often have safety locks that aren’t obvious at first glance. Check the manual for your specific mounting bracket type. Common types include fixed, tilting, and full-motion. Full-motion arms are trickier because they have multiple joints. If you lose track of which bolt goes where, take photos with your phone as you disassemble. Future-you will thank present-you when you’re trying to figure out what those three weird washers were for.
Disconnect and Manage Cables First
Before you unmount the TV, deal with the wires. Unplug everything: HDMI cables, power cords, antenna lines, and any optical audio connections. Label them if you’re unsure which one goes where, though most modern setups are straightforward. Once unplugged, gently coil the cables and secure them with velcro ties or twist ties. Don’t let them dangle loosely; they can snag on the mount or the stand during the move.
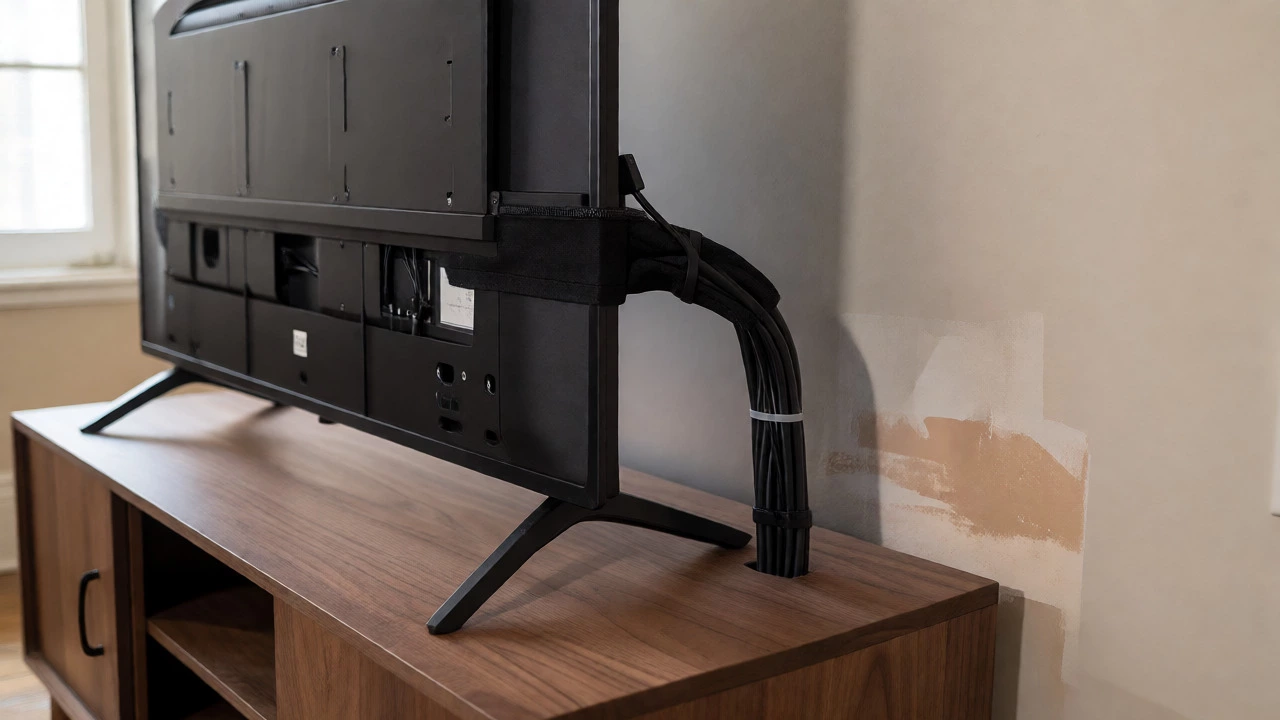
This is also the time to decide how you’ll handle cables on the new stand. Wall mounts hide wires beautifully. Stands expose them. If you hate seeing a tangle of black cords behind your new unit, buy some adhesive cable clips or a raceway kit. They’re cheap and make a huge difference in aesthetics. Alternatively, route the cables through the back of the stand if it has cutouts. Test the length of your HDMI cables now. Sometimes, the distance from the wall outlet to the new stand location is different. You might find your old 1-meter HDMI cable is too short for the new setup. Better to know this now than after you’ve mounted the TV.
Removing the TV from the Wall Mount
With cables disconnected and help nearby, tackle the mount. For most standard brackets, there’s a release tab or lever near the bottom of the TV. Lift up slightly and pull away. Some mounts require you to unscrew bolts from the back of the TV plate. If so, loosen them gradually. Do not fully remove one bolt before loosening another; keep the tension even to prevent the plate from dropping suddenly.
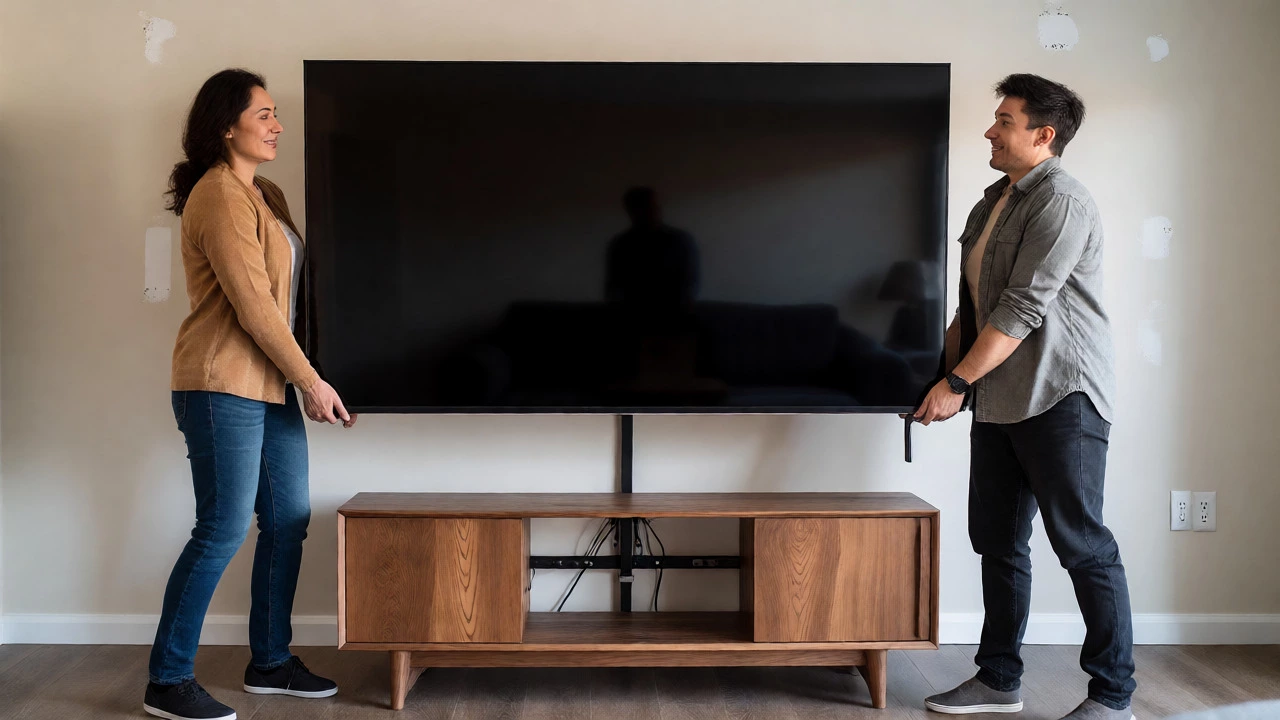
For full-motion arms, extend the arm fully so the TV is close to you. This reduces leverage and makes it easier to control. Look for safety screws that lock the arm in place. Remove these carefully. Once the TV is free from the wall hardware, two people should carry it straight down. Keep it upright if possible, but laying it flat on a padded surface is safer for very large screens. Never drag the TV across a surface. Lift it.
Preparing the New TV Stand
Your new furniture piece needs to be stable. Assemble it according to the instructions, tightening all screws firmly. Wobble test it: push gently on the sides. If it rocks, adjust the feet or check for loose joints. Place it in its final position before putting the TV on it. Measure the width of the TV against the depth of the stand. A general rule of thumb: the stand should be at least 70% of the TV’s width to ensure stability, especially if you have kids or pets.
Clean the top surface of the stand. Dust and debris can scratch the bottom edge of the TV frame. If your stand has a glass top, use a microfiber cloth. Now, attach the TV’s base or legs. Many TVs come with removable stands in the box. If you threw yours away, check the manufacturer’s website. Brands like Samsung, LG, and Sony sell replacement bases. Installing them usually involves sliding the TV face-down onto a soft towel and screwing in four bolts. Be careful not to overtighten plastic threads.
Mounting the TV on the Stand
Lift the TV with the base attached and center it on the stand. Have your helper guide it from the side. Once centered, plug everything back in. Route the cables neatly. Use zip ties to bundle excess length and hide the bundles behind the stand. If your stand has doors, leave a little slack so you can open them without pulling on the ports.
Turn the TV on. Check every input. Did you reconnect the soundbar correctly? Is the antenna signal strong? Adjust the picture settings if necessary. Sometimes, moving a TV changes its viewing angle relative to windows. Glare can become an issue. You might need to tilt the TV slightly using the base’s adjustment features, if available.
Patching the Wall and Cleaning Up
Now you’re left with holes in the wall. Don’t ignore them. Spackle the small screw holes. For larger anchors or drywall damage, use a patch kit. Sand it smooth once dry, then touch up with paint. Matching the paint color is easier if you saved a sample jar. If you didn’t, bring a small chip of the wall to a hardware store for matching. This step takes ten minutes but completes the look of the room.
Recycle the old mount hardware properly. Metal brackets are recyclable. Plastic parts might go in the trash depending on local rules in Melbourne. Store any leftover bolts and washers in a labeled bag. You might need them later if you decide to mount a second monitor or return to wall-mounting someday.
Troubleshooting Common Issues
What if the TV looks too small on the stand? Sometimes, removing a TV from eye-level wall mounting makes it feel lower. Raise the stand height with furniture risers or add a decorative box underneath. What if the cables still look messy? Try a cable management sleeve. It’s a fabric tube that wraps around all wires, turning a snake pit into a single neat column. What if the TV wobbles? Check the floor level. Use felt pads under the stand’s feet to compensate for uneven flooring.
Can I reuse the wall mount bracket for my new TV?
Usually, no. Wall mount brackets are designed to attach to the wall, not to sit on a stand. However, some universal TV stands allow you to attach the VESA plate (the part screwed into the TV) directly to the stand’s support post. Check your stand’s compatibility list for VESA patterns (e.g., 200x200mm, 400x400mm).
Do I need to hire someone to move a large TV?
Not necessarily. Two adults can safely move a 65-inch TV. For screens over 75 inches, consider hiring movers or asking three friends to help. The risk isn’t just weight; it’s awkwardness. Large panels act like sails and can tip unexpectedly.
How do I hide cables on a TV stand?
Use adhesive cable clips along the back edge of the stand, route wires through existing holes, or use a cord cover raceway painted to match the wall. Bundling wires with velcro straps behind the stand keeps them tidy and accessible.
Is it safe to put a heavy TV on a lightweight stand?
Check the stand’s weight limit. Manufacturers specify maximum load capacity. If your TV exceeds this, reinforce the stand with cross-bracing or choose a sturdier model. Top-heavy TVs are more prone to tipping, so anchoring the stand to the wall with anti-tip straps is wise.
What if I lost the original TV stand legs?
Contact the TV manufacturer’s support team. Provide your model number. They often sell replacement bases. Alternatively, third-party universal TV stands exist, but ensure they match your TV’s VESA pattern and weight specifications.