 8
Oct,2025
Ergonomic Recliner Setup Checker
Key Takeaways
- Keep your feet flat and knees at hip level for optimal circulation.
- Use the built‑in lumbar pad or add a small cushion to support the natural curve of your lower back.
- Adjust the backrest to about 110°-120°; this angle preserves spine alignment while still feeling relaxed.
- Limit continuous recliner time to 30‑45 minutes; stand or stretch afterward.
- Choose a recliner with firm yet yielding cushion material and adjustable footrest.
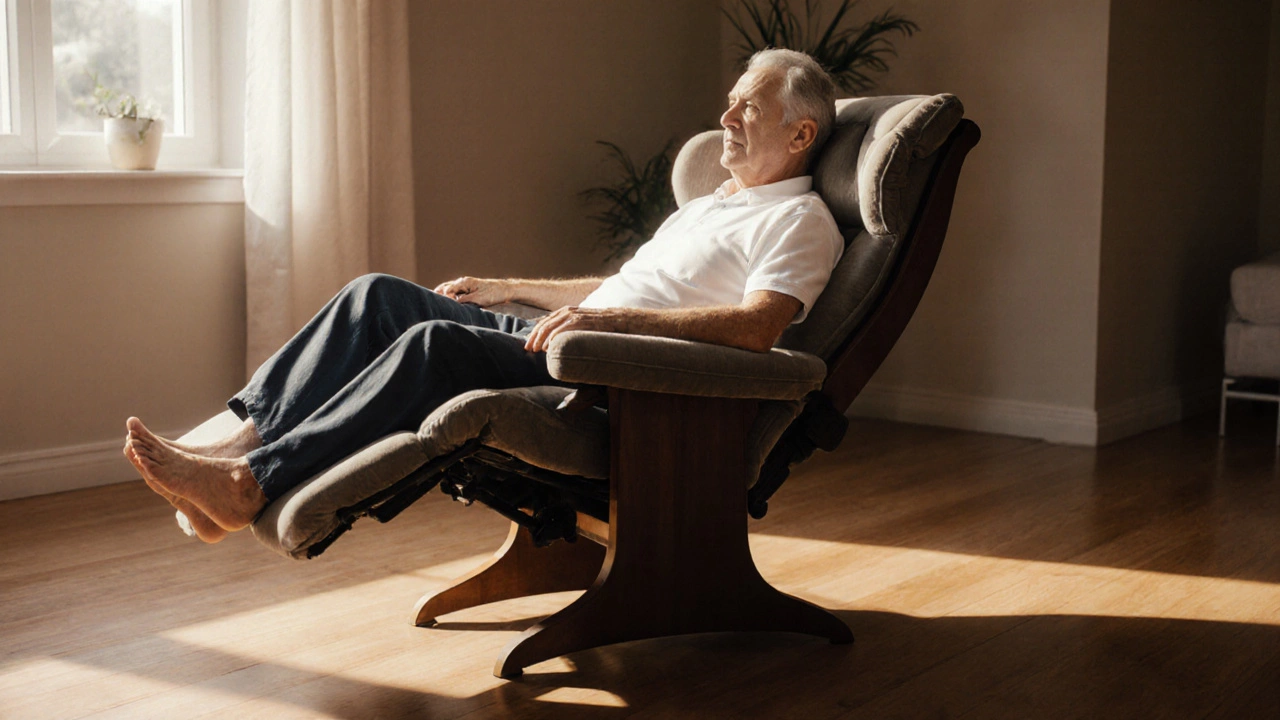
When you sink into a Recliner is a padded chair that tilts backward and often features an extendable footrest, the goal isn’t just comfort-it’s health. A lot of people assume that any relaxed position is good for the back, but research shows that improper angles can increase pressure on lumbar discs and restrict blood flow to the legs. Below, you’ll learn step‑by‑step how to set up a recliner so it supports your spine, hips, and circulation while still feeling cozy.
Why Posture Matters in a Recliner
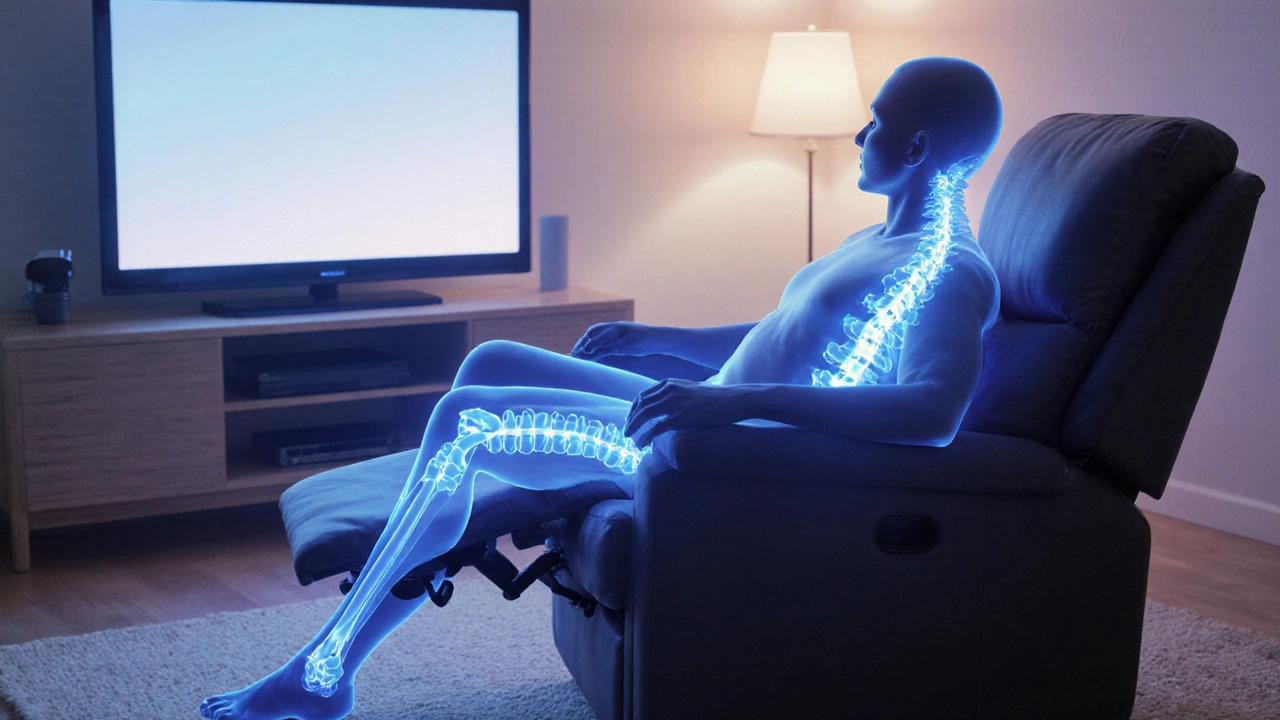
Good posture is the foundation of a healthy recliner sitting experience. When the spine maintains its natural S‑shape, the muscles and joints share load evenly. A slouched or over‑reclined position forces the lumbar spine into flexion, which can compress discs and irritate nerves. Conversely, an upright yet relaxed angle keeps the intervertebral spaces open, reduces strain on the neck, and promotes better breathing.

Step‑by‑Step Ergonomic Setup
- Foot Placement: Place both feet flat on the floor or on the built‑in footrest. Your knees should be roughly at a 90° angle, matching hip height. If your feet dangle, use a small footstool.
- Backrest Angle: Adjust the reclining lever until the backrest sits between 110° and 120°. This range is steep enough to feel relaxed but shallow enough to keep the spine in a neutral curve.
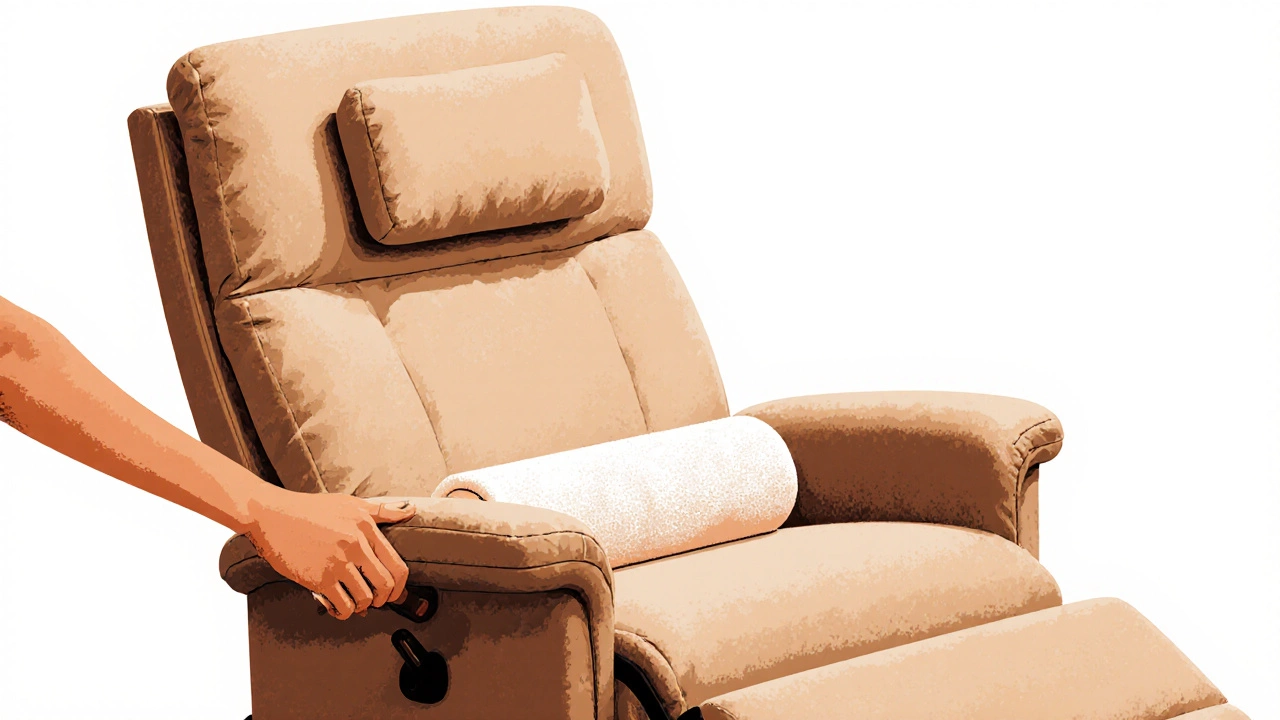
- Lumbar Support: If your recliner has an adjustable lumbar pad, set it so it fills the natural dip in your lower back. If not, a rolled‑up towel or a 4‑inch memory‑foam cushion works well.
- Seat Depth: Sit so that the back of your knees are just above the seat edge. This prevents pressure behind the knees and promotes circulation.
- Armrest Height: Keep elbows close to a 90° bend. If the armrests are too high, lower them if possible, or use a thin cushion to bring them down.
- Headrest Position: Align the headrest with the base of your skull. Your neck should be in a neutral position, not craned forward.
- Take Breaks: After 30‑45 minutes, stand, stretch, or walk around for a couple of minutes. This habit reduces static loading on the spine.
Choosing the Right Recliner
Not all recliners are created equal. Below is a quick comparison of three common styles and how they rank on ergonomic criteria.
| Type | Adjustable Lumbar | Backrest Angle Range | Cushion Firmness | Best For |
|---|---|---|---|---|
| Standard Power‑Recline | Yes (manual knob) | 90°‑130° | Medium‑firm | People who like electronic controls and fine‑tuned angles |
| Manual Lever Recliner | No | 100°‑120° | Firm | Those who prefer simple mechanisms and sturdy support |
| Zero‑Gravity Recliner | Yes (built‑in) | 115°‑135° | Soft‑medium | Users seeking weight‑off‑feet feeling while still needing lumbar care |
Common Mistakes and How to Fix Them
- Over‑reclining: Angles above 130° push the pelvis forward, flattening the lumbar curve. Lower the backrest until you feel a gentle stretch in the chest.
- Footrest Too High: When the footrest rises above knee level, hamstring muscles tighten, pulling the pelvis into a posterior tilt. Keep the footrest just below the knee line.
- Using a Soft, Sinking Cushion: Excessively plush cushions let the hips sink, increasing pressure on the tailbone. Opt for high‑density foam that offers consistent support.
- Sitting Too Long: Even the best posture hurts after hours. Set a timer to remind yourself to move.

Health Benefits of an Ergonomic Recliner Setup
When you follow the steps above, you can expect several measurable improvements:
- Reduced Lower‑Back Pain: Proper lumbar support keeps disc pressure low.
- Improved Circulation: Keeping feet flat prevents calf compression and reduces swelling.
- Better Breathing: An open chest angle allows the diaphragm to move freely.
- Enhanced Focus: A comfortable posture reduces fatigue during reading or TV marathons.
Quick Checklist Before You Settle In
- Backrest angle 110°‑120°?
- Lumbar pad positioned at the curve of your lower back?
- Feet flat, knees at hip level?
- Headrest hugging the base of your skull?
- Timer set for a 30‑minute break?
Frequently Asked Questions
Can I use a regular pillow as lumbar support?
Yes, a firm, rolled‑up pillow or a small lumbar cushion works well. The key is to fill the natural dip in your lower back without pushing it forward.
How often should I adjust my recliner settings?
Check your position every 20‑30 minutes, especially after getting up or changing activities. Small tweaks keep your spine in neutral alignment.
Is a zero‑gravity recliner healthier than a standard one?
Zero‑gravity chairs distribute weight more evenly and often include built‑in lumbar support, which can be beneficial. However, the angle still needs to stay within the 110°‑120° range for optimal spine health.
What cushion material is best for long‑term use?
High‑density memory foam or polyurethane foam provides firmness with a slight give. It holds shape over years and supports hip and lower‑back alignment.
Should I recline while working on a laptop?
For short tasks, a slight 100°‑110° tilt can reduce neck strain, but a proper desk chair with arm support is preferable for longer work sessions.


